Description
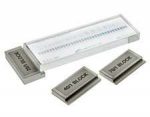
Image Analysis Test Targets are used to evaluate or calibrate an image system’s performance by measuring image quality standards such as resolution, contrast, or depth of field. Image Analysis Test Targets detail a range of shapes or patterns that measure the accuracy of an imaging system by viewing them with an imaging lens. Image Analysis Test Targets effectively determine the capabilities of an imaging system, allowing for accurate certification of performance as well as for establishing baseline standards for multiple systems working together.
Image Analysis Micrometer
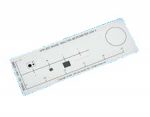
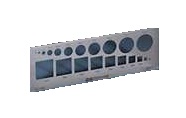
Table lists the individual characteristics of the eight test plates featured. Also features a 2.5″ linear scale for larger scale calibrations or measurements, labeled every 0.5″. Each plate is accurate to within ±2 micron of the stated dimension. Glass slide dimensions: 1″ W x 3″ L x 1.5mm T. Large circle at the right of the slide is 0.5″ dia. Test Plates 1-4 correspond to top patterns and 5-8 to bottom patterns, all left to right. Patterns 1, 2 and 8 are calibrated on NIST certified version of micrometers.
IMAGE ANALYSIS TEST TARGETS
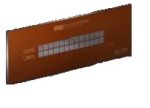
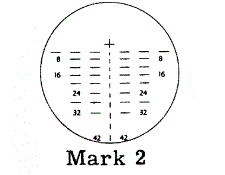
Experimental Grade Reticles are optical windows on which have been engraved, etched, or printed various lines, numbers, etc. Once used in various binoculars and range finding instruments, they can be used as optical windows, collimators, or targeting systems.
Dot and Square Calibration Target
This target provides a highly accurate reference for feature sizes of circles and squares and is ideal for testing the accuracy of non-contact metrology systems, especially those vulnerable to distortion and blooming. The precision pattern is formed in Low Reflection Chromium on a stable Float Glass substrate in standard microscope slide format.
Our Linear Scale Stage Micrometer is designed to accurately calibrate machine vision systems simultaneously in the X- and Y- axes. This allows calibration without rotation, and without compensation for camera aspect ratios. Micrometer features two scales – a metric scale featuring 25μm divisions, and an English scale featuring 1 mil (0.001″) divisions. Target is chrome on glass or chrome on opal


